Restaurant menu design: the layout tricks that lift spend
Menu design is not decoration, it is where guests decide what to spend. Scanning patterns, price placement, typography, and a one-page redesign checklist.

Window light, angles by dish shape, a quarterly shoot plan and honest editing rules

Short answer: in a digital menu the photo is the salesperson, dishes with photos get chosen dramatically more than text-only lines, and a menu of strong images converts better everywhere it appears: your ordering page, your socials, your Google profile. You do not need a photographer to get there. The system: shoot beside a window in daylight, pick one of three angles by the dish’s geometry, take ten frames and keep one, edit lightly, and run the whole menu as a one-hour quarterly shoot. Everything below is that system, plus the honesty rule that keeps great photos from becoming bad reviews.
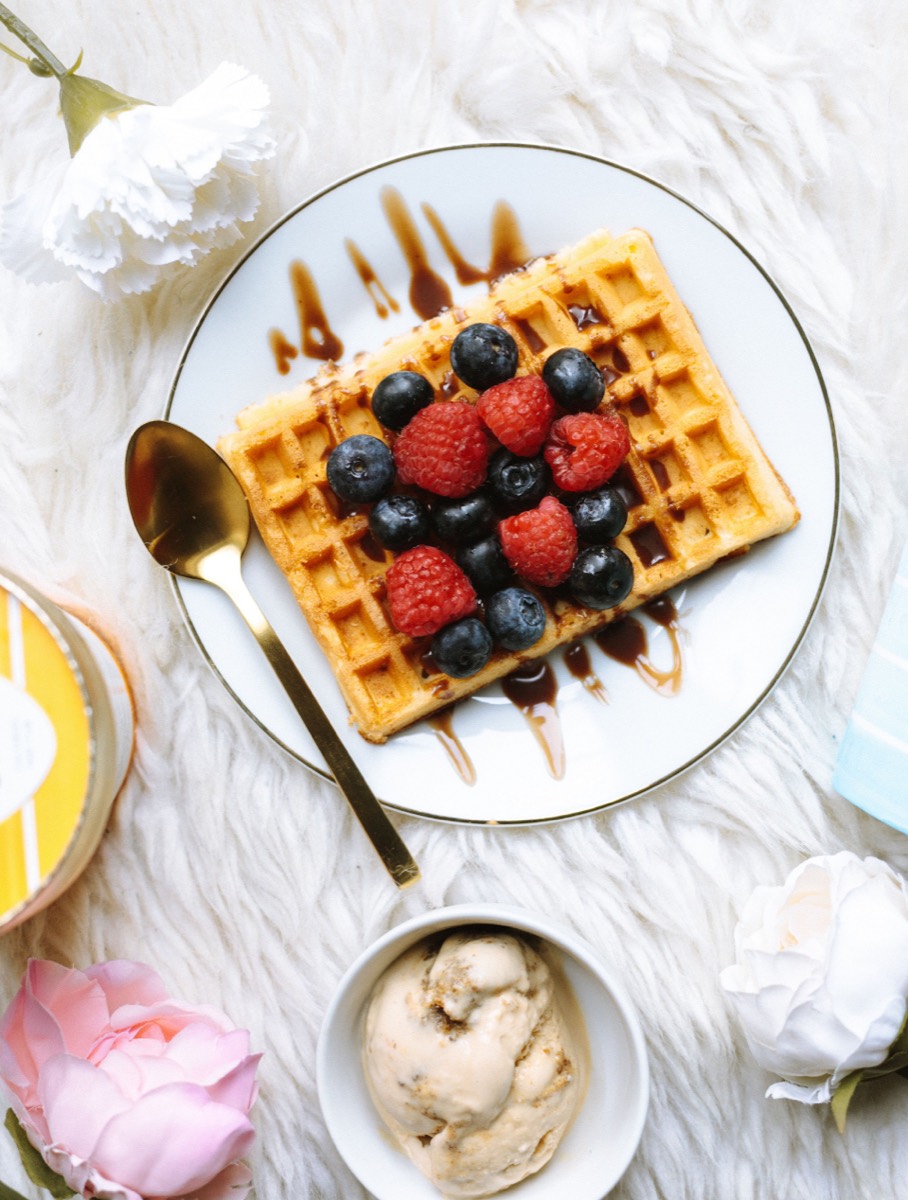
In the dining room a guest has aromas, a waiter and other people’s plates to sell them dinner. On a screen there is a name, a price, a description and, if you have done the work, a photo, and the photo carries most of the persuasion. Every ordering platform’s internal numbers point the same direction: photographed dishes outsell unphotographed ones by wide margins, and since digital tickets already run larger than counter orders, the photos are compounding an advantage you already want. Practical rule: every hero dish and every high-margin dish gets a real photo before anything else on the marketing list.
Food photography is mostly light management, and the best light in your building is free: a big window, indirect daylight, the dish placed so light comes from slightly behind or beside it. Backlight is the professional’s trick, it makes sauces glisten, soups steam and greens look alive, while front-on light flattens everything. The two enemies: overhead restaurant lighting (amber, hard shadows, appetising to nobody) and flash (grease-glare). Dark room? Shoot near the door mid-morning, or bounce window light back into shadows with a white card or menu. Master this one section and your photos improve more than any camera upgrade could manage.
| Angle | Use for | Why it works |
|---|---|---|
| Top-down (90°) | Bowls, pizzas, flat plates, spreads | Shows composition; the “table for two” look |
| Three-quarter (45°) | Most plated dishes | Height + surface together; the default |
| Straight-on (0°) | Burgers, stacks, cakes, layered drinks | Drama of the layers; the cross-section hero |
Then the habits that separate keeper frames from snapshots: get closer than feels polite (fill the frame with the food), wipe the plate rim, add one point of life sometimes (a hand, a fork mid-lift, a napkin), and shoot ten frames while moving slightly, the difference between frame four and frame nine is usually the shot.
Batch it or it will not happen. Once a quarter, in your best window light: list the ten dishes that matter (heroes, best margins, new items), cook them properly and in order, shoot each from its geometry angle plus one alternative, ten frames each, and capture 15 seconds of video per dish while you are there (the pour, the pull, the steam), that is next month’s social content done in the same hour. Sixty minutes, ten dishes, a quarter’s worth of imagery for the menu, the ordering page, Google and socials.
Editing rescues light, not food: a touch of brightness, gentle warmth, a little contrast, and stop, heavy filters make food look synthetic, and dramatic saturation reads as a lie. Keep edits consistent across the set (same adjustments, same look) so the menu feels like one restaurant. Then put the work where it sells: the online menu first (photo per hero dish), the Google Business Profile (photo-rich profiles earn dramatically more clicks and direction requests), and the social grid batched from the same shoot.
The photo is a promise, and the plate has to keep it. Photograph the real portion on the real plate (and for delivery dishes, the real box presentation, made to look its honest best), because the gap between a glamour shot and the arriving reality converts directly into disappointed reviews. Beautiful and true is the entire brief: better light, better angle, cleaner plate, yes; borrowed perfection, never. Re-shoot whenever the dish changes so the promise stays current.
Do food photos really increase orders?
Yes, decisively, and every ordering platform’s own data says the same thing: dishes with photos get chosen far more often than photo-less lines of text, and menus with strong photography convert better end to end. Online, the photo does the job a waiter’s recommendation does in the room. In a digital menu, no photo effectively means “do not order this”.
Can I shoot good food photos with a phone?
Absolutely, and most independents should. A recent phone, big soft window light, three practised angles and ten frames per dish covers 90% of what a menu and socials need. The gap to professional work is real but small compared with the gap between phone-with-technique and no photos at all. Start with the phone system; hire a pro annually for hero shots once revenue justifies it.
What is the best lighting for food photography?
Daylight from a window, slightly behind or beside the dish (backlight makes food glisten; front light flattens it). Never the overhead amber restaurant lights (orange, shadowy) and never flash (greasy glare). If your room is dark, shoot near the door at 10am, or bounce window light back with a white card. Light is 80% of food photography; angles and editing are the other 20%.
What angles work for food photos?
Three cover everything. Top-down (90°) for flat and spread dishes, pizzas, bowls, tables of food. Three-quarter (45°) for most plates, it shows the food’s height and surface together. Straight-on (0°) for stacked items, burgers, cakes, layered drinks. Pick the angle by the dish’s geometry, get closer than feels natural, and let one hero element dominate the frame.
How often should I re-shoot my menu photos?
Whenever the dish changes and at least seasonally for heroes. Photos that no longer match the plate create the expectation gap that becomes bad reviews (the same trap as over-written descriptions). A quarterly one-hour shoot, ten dishes, three angles each, keeps the menu, ordering page and socials honest and fresh.
Should delivery and dine-in menus use the same photos?
Same photos, shot with delivery in mind: photograph the dish as the customer receives it in that channel. The burger photographed gloriously plated but delivered in a box builds disappointment into every order. For delivery-heavy items, shoot the real presentation, open box, honest portion, and make it look great anyway. Honest and appetising is the whole brief.
Storefront, orders, kitchen, CRM and marketing in one place. Start free in a couple of minutes, no card needed. Pop in your email and we'll take you straight to setup.
Menu design is not decoration, it is where guests decide what to spend. Scanning patterns, price placement, typography, and a one-page redesign checklist.
Marketing when you remember to is not a plan. A restaurant marketing plan in four layers, with what to do weekly, monthly and seasonally.
Opening night is a funnel, not a party. A restaurant grand opening that works starts weeks early: build the list, soft-open, then chase second visits.
Storefront, POS, kitchen, CRM, marketing. One login, one bill. NZ$1/month for the first 3 months.
Start free trial